
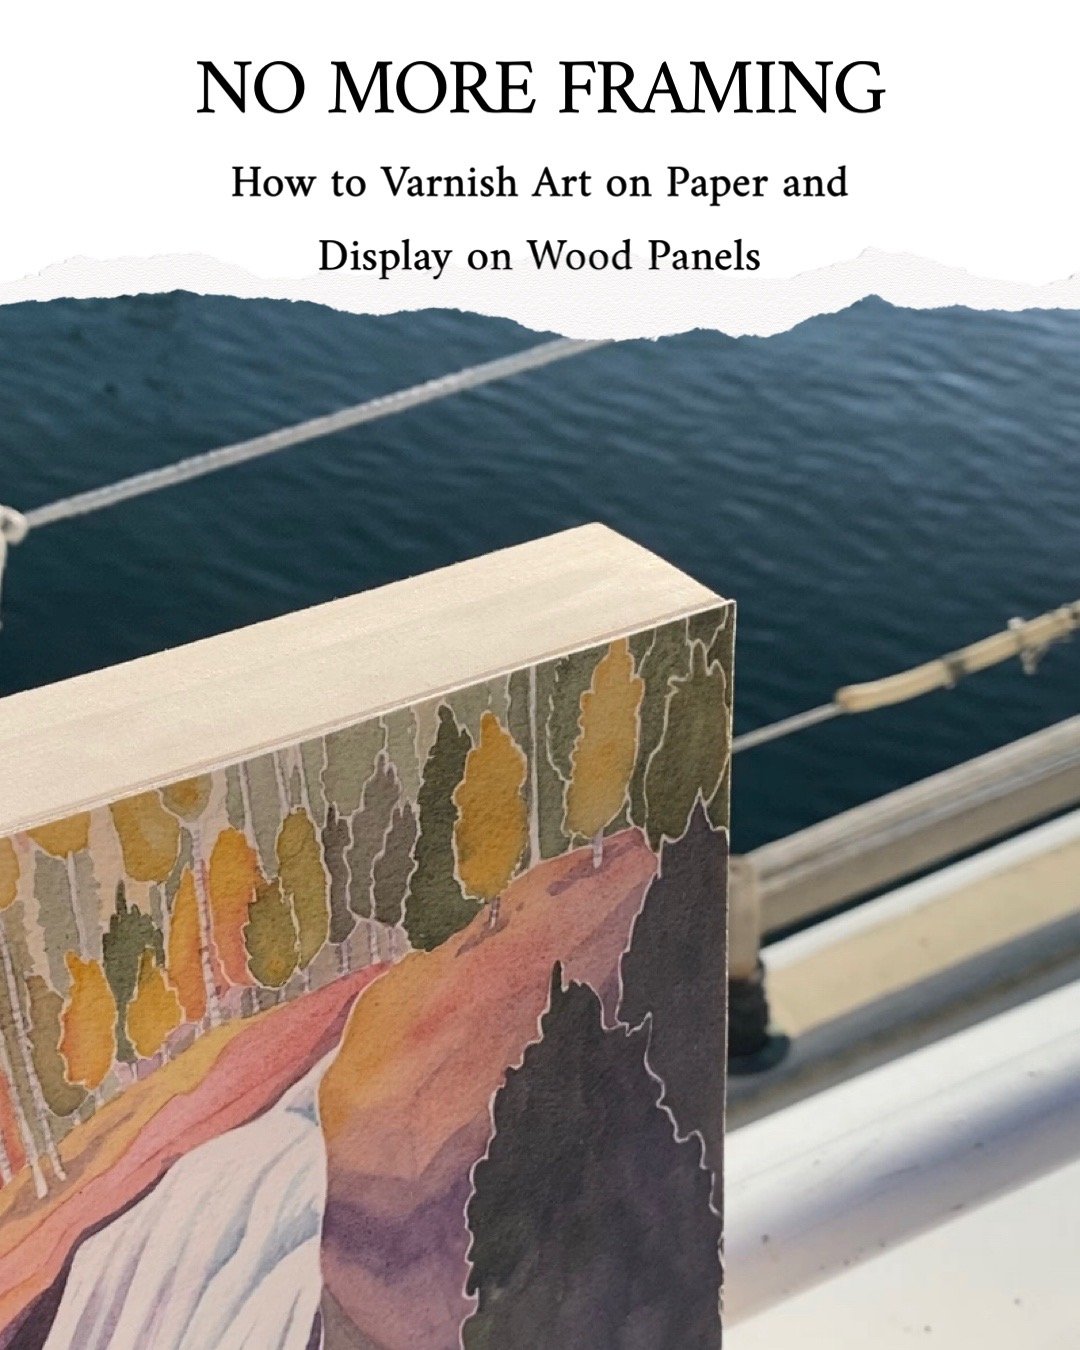
Tutorial- How to Varnish a Watercolour Painting and Mount on a Wood Panel
Varnishing watercolour paintings, drawings and other art on paper then displaying them on wood panels is a wonderful way to share art without needing glass. Properly done, varnishing art is archival and longlasting. The artwork is protected from dust, light and moisture, and there’s no reflective, breakable glass to get in the way of enjoying the piece. It’s also far more affordable than framing and results in a modern look.
I’ve created a video tutorial showing you how to varnish and mount art on paper. You will also find detailed written instructions below the video. Whilst the instructions look long, I’ve included tips, explanations and advice based on my experiences. The steps are quicker than they look at first glance! There are a few stages where drying or curing time is required in between steps, so plan ahead if you’re preparing work for a deadline.
You will need:
Gloss Spray Varnish (I recommend Golden Archival Spray Varnish with UVLS. Krylon Archival Varnish is a suitable alternative)
Golden Gloss Acrylic Gel Medium (Liquitex is a good alternative. Other brands can have a runnier consistency and lead to an uneven finish)
Golden Isolation Coat
Craft knife and cutting mat
Wooden panel
Artwork on paper, trimmed slightly larger than your wooden panel (I use 300 gsm (140 lb) paper for this process. You may experience buckling with thinner/ lighter weight papers)
Optional- alternative varnish for final layer (eg spray or brush-on varnish in your preferred finish, cold wax medium)
Varnishing the Art
Begin by spraying your painting or drawing with 2-3 coats of archival varnish. This is best done outside or in a well-ventilated space. Allow twenty minutes of drying time in between layers. I like to rotate the art in between each layer to ensure even coverage.
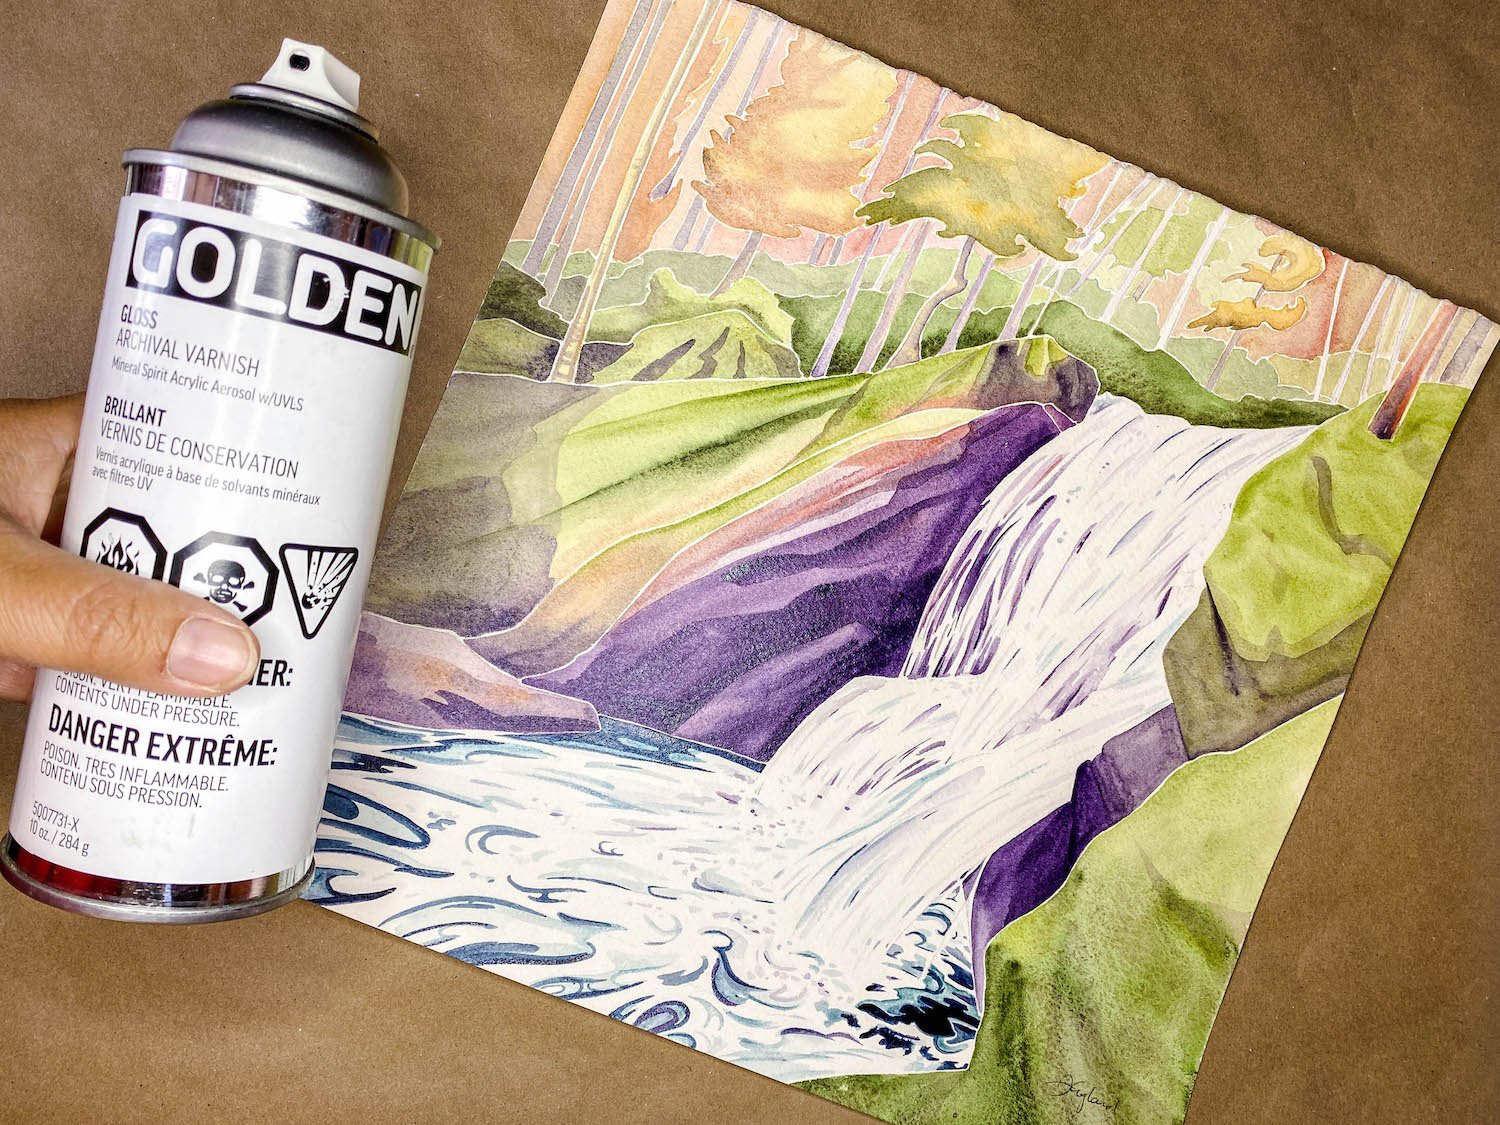
It’s important to use gloss varnish for these first stages. Matte or satin sprays can dry unevenly and become mottled. If you prefer a matte or satin finish, you can create this in the very final stage of the varnishing method.
I prefer sprays which are labelled ‘archival’ or ‘with uvls’. My preferred brand is Golden Archival, with Krylon Archival as a second choice. These will protect the art from the effects of light and will minimise fading (the varnish is acting like anti-uv glass). There are cheaper brands available, but these will not protect the art from light.
Tip: If you use the wrong varnish by mistake and experience mottling, this can often be rectified by allowing the varnish to dry then coating with gloss spray.
Varnish does not perform well in temperatures under 10 degrees C, and can be affected by high levels of humidity.
Sticking the Art to the Panel
Using a large brush, cover the back of the panel with a coat of acrylic gel medium, then apply a coat of gel medium to the back of the art. The medium acts as a glue to stick the art to the panel. It is acid-free and archival so will not cause the art to discolour with time. It also forms a barrier that prevents tannins and other chemicals in the wood from leeching through to the paper. I prefer Golden or Liquitex Regular Gel Medium as other brands can be wet, causing the art to buckle and making it difficult to achieve a thick, even protective layer. For extra protection, you may wish to coat the surface of the panel with medium and let it dry, then recoat the panel and the back of the art.

Tip: Use masking tape to protect the sides of your panel when you are applying the gel medium.
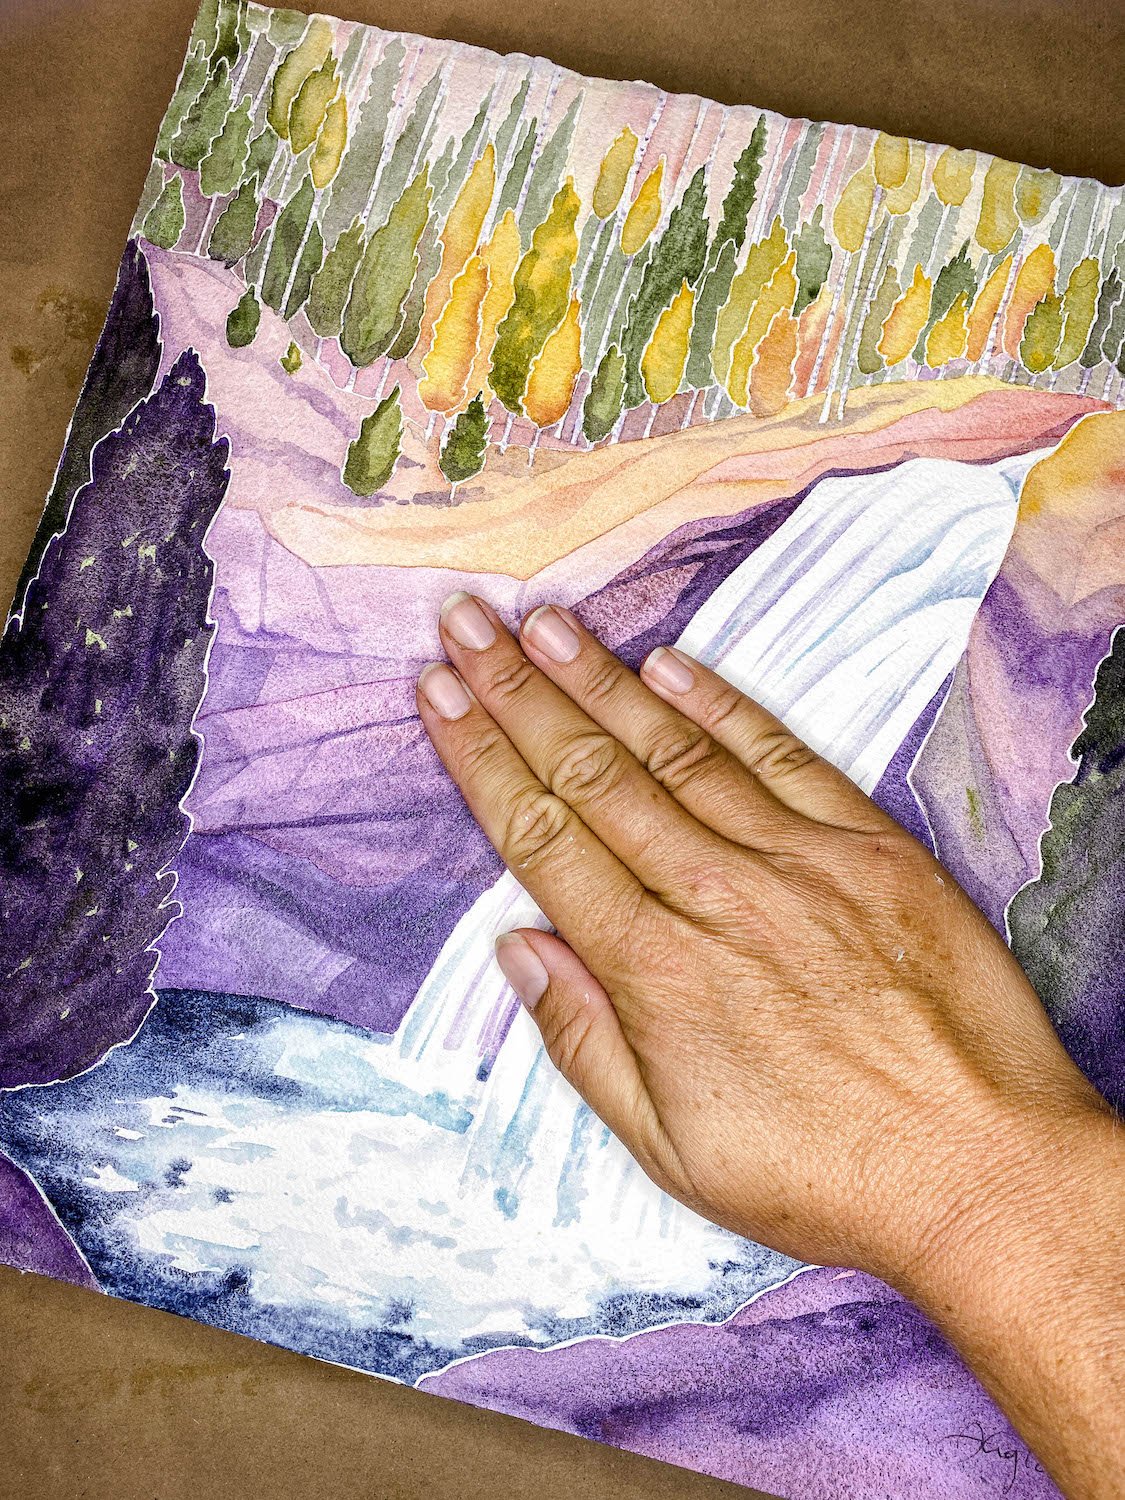
Place the art on to the panel and position it correctly. With clean hands or a brayer, smooth the art down, working out any air bubbles. I prefer to use my hands as I find I get a more even result.
Turn the panel over so the art is face-down and place on a piece of clean white paper. Place heavy books on top to weigh it down flat. Leave in a warm place. The gel medium will usually dry in 2 hours in a warm, dry environment, though I often leave it overnight. I recommend using a warm room or placing the art near a dehumidifier to let it dry thoroughly and evenly.
Tip: If you find small bubbles in the art when the rest of the piece is dry, leave the art face up in a warm area or near a dehumidifier. The bubbles may be caused by areas of gel medium that haven’t dried; increasing the heat or removing the excess moisture will often tighten these up.
Trimming the Art
Using a sharp craft knife, trim the excess paper away from the sides of the wooden panel. Blunt blades can cause the paper to snag and rip, so I recommend replacing your blade regularly. A sharp filleting knife can also make an excellent paper cutter.

Applying the Isolation Coat
Golden Isolation Coat creates an extra layer of protection for your art, and means that the final layers of varnish can be removed and replaced by a restorer. If you do not need an archival finish you can skip this step, but I highly recommend it if you intend to show or sell your work.
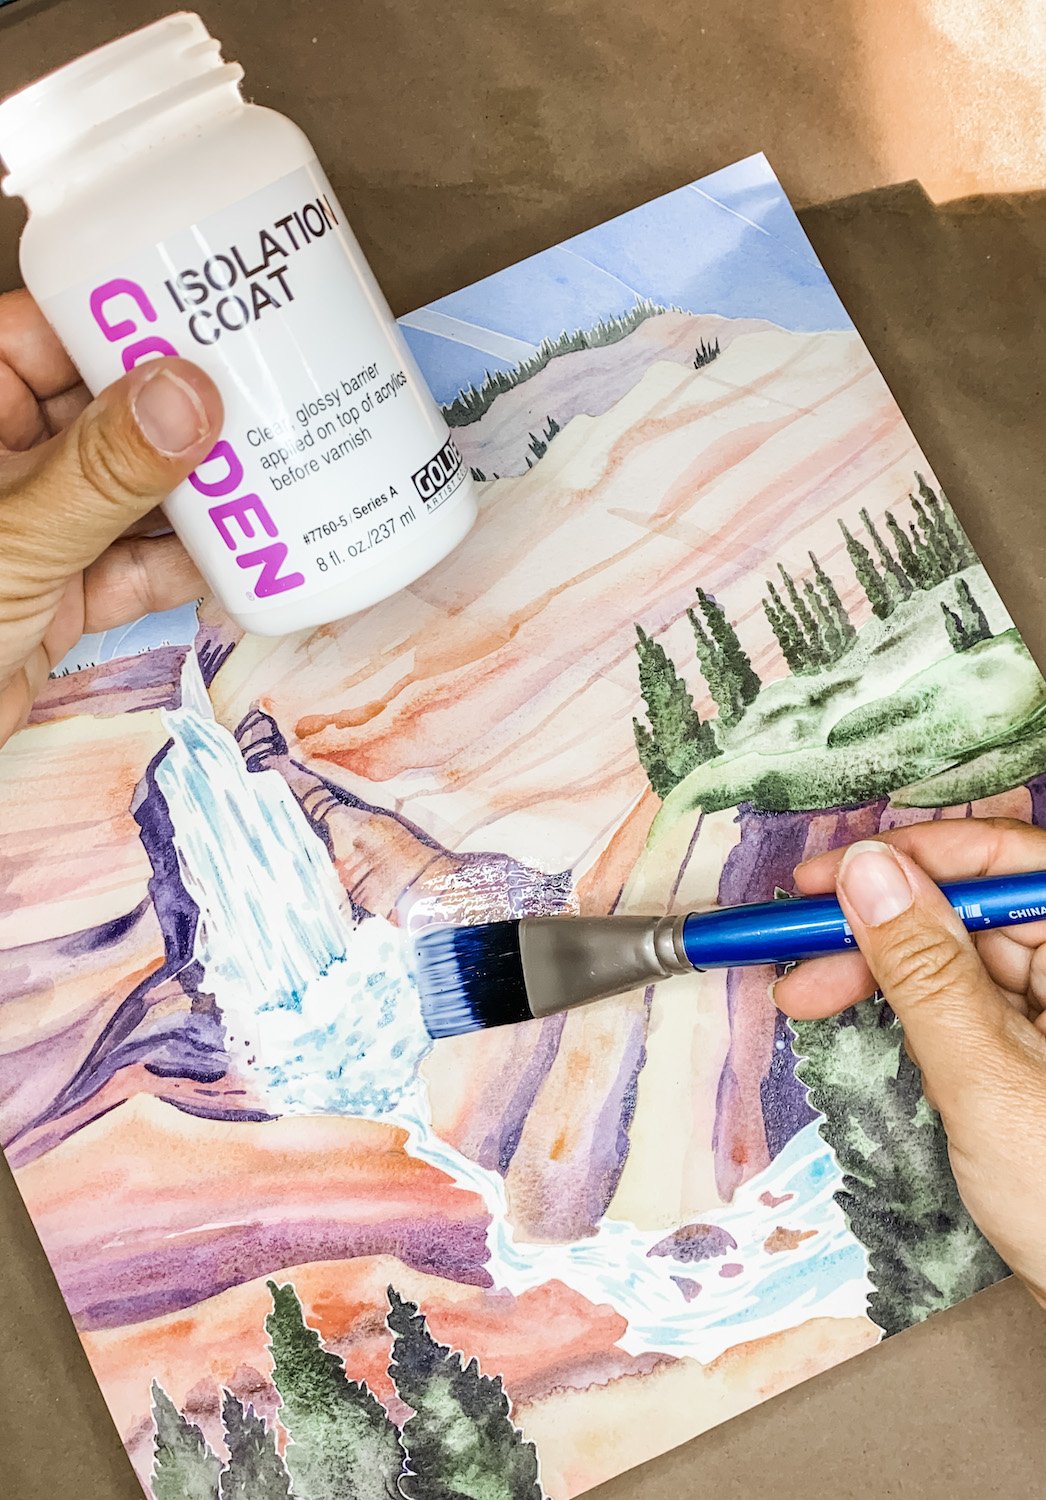
Stir the Isolation Coat well and allow any bubbles to dissipate. Apply to the surface of the artwork with a soft brush (I use a large Opus Galliano watercolour brush; a soft brush like a hake should also work nicely). Work slowly and evenly. You may notice bubbles forming, especially if you are covering heavily textured paper. These can be worked out with the soft brush. Check for ridges and allow to dry, then apply a second coat if required. I usually recoat large pieces to ensure even coverage.
Allow the Isloation Coat 24 hours to cure before applying the final coat of varnish.
Applying the Last Coat of Varnish
The final coat of varnish can be applied as a spray or with a brush, or you may prefer the appearance of cold wax medium (check out this previous blog post for more information about using cold wax to protect art on paper). Matte or satin finishes will cover the glossiness of the previous layers, and matte varnish will make your art look as if it was never varnished at all. If you have used shiny materials in your artwork, you may wish to use a gloss or satin varnish, as matte will cover their lustre.

I prefer to finish with archival spray varnish to avoid brush marks and add a final layer of light protection.
Finishing Off
Sand the sides of the wood panel with a fine sand paper for a professional finish. The edges of cotton rag paper can stand up to a light sanding, and the sand paper will remove any stray marks caused by gel medium or isolation coat. You can also paint the sides of the panel (use masking tape to protect the art) or display it in a frame (no glass required).
Check the corners of the art to make sure they are stuck down well- if not, apply more gel medium using a toothpick or fine brush.
Make brief notes on the materials you have used to assist conservators in the future- I like to stick these to the back of my panels with linen tape.
Varnished Watercolours and Watercolour Societies
There are some watercolour organisations which will not accept work that has been varnished (they consider the varnish to make the work ‘mixed media’). If you intend submitting your watercolour to a national or international watercolour show, I would recommend checking the entry requirements to ensure that they accept varnished and mounted pieces before you seal your piece. As I write, varnishing and panel mounting is acceptable to the Federation of Canadian Artists (FCA), the Canadian Society of Painters in Watercolour (CSPWC/SCPA) and the Society of Canadian Artists (SCA), but I highly suggest verifying the rules of any organisations you show with (or would like to show with), especially if they are pure watercolour societies.
I hope you find this tutorial useful. If you have any questions about varnishing and mounting art on paper, please leave them in the comments- and you’re welcome to share your own experiences!