
How To Mount a Watercolour Painting On A Wooden Cradle
Update- Since writing this tutorial in 2018, I’ve started using a more archival method to mount my art. I’ve added an updated tutorial here in the Log Book. I suggest starting there if you want an extremely archival finish as the update contains a few steps which this one misses. If you’re aiming for a low-odour/ low toxicity studio and prefer to avoid spray varnish, scroll to the bottom of this tutorial for instructions on sealing your art with cold wax instead of varnish.
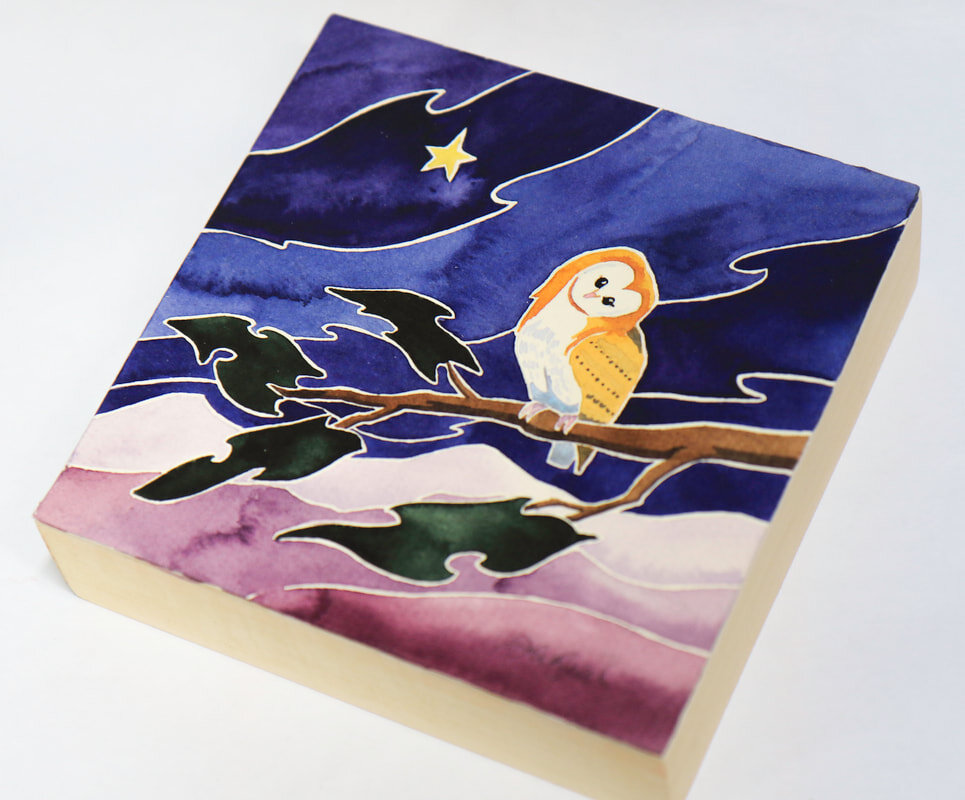
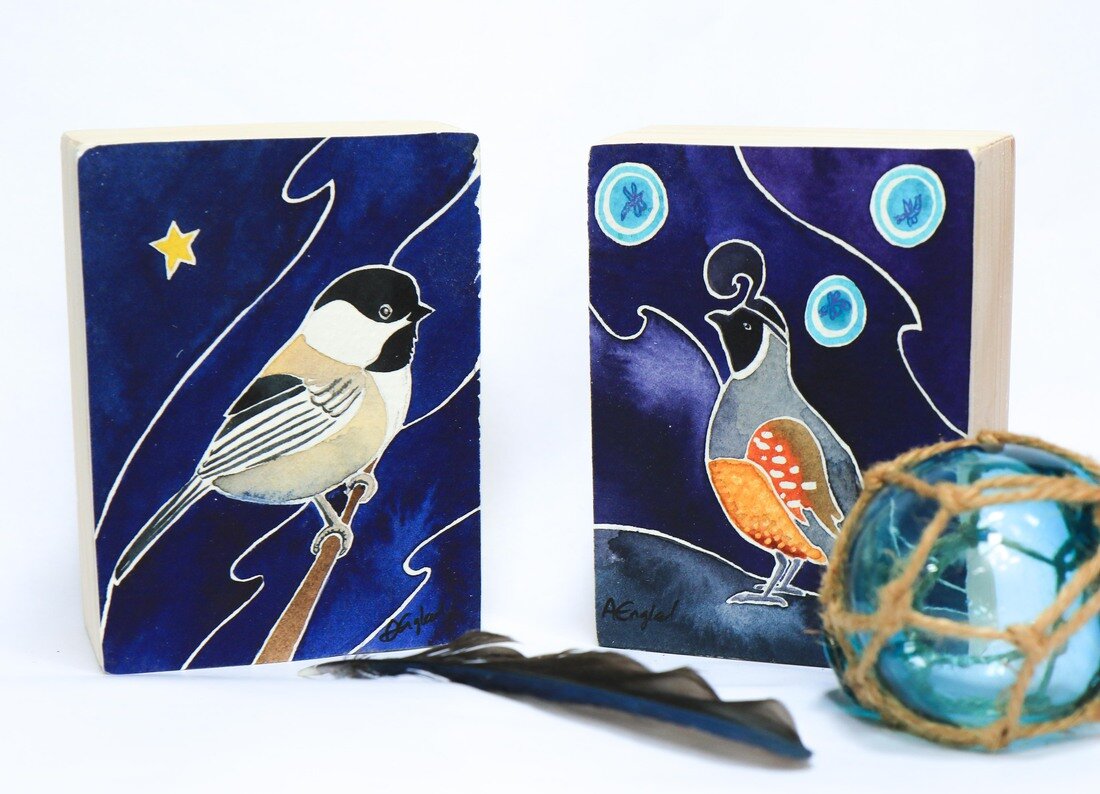
Mounting a watercolour painting onto wood solves two problems- the high cost of framing and the fact that glass can feel like it gets between the viewer and the image. Wooden cradles are much cheaper than mats and picture frames, and allow the viewer an unrestricted view of the art, without reflections obstructing their enjoyment. An added benefit is the fact that 2" thick cradles can also stand by themselves, making them ideal in small homes where wall space is limited, or in rental properties where hanging art is discouraged. A small cradle stands nicely on a shelf or desk and takes up less space than a frame. This tutorial will show you how to mount a painting onto wood so that the art can stand the test of time.
You might want to practice the process with unpainted paper first (if you miss the step of varnishing it, then you can still paint on the paper after it's mounted and seal it at the end). The process is not reversible, so you can't change your mind after a piece has been mounted!
I first learned about this process from Karen Smith, and thought I'd share my experiences!
You will need:
wooden cradle
watercolour paper/ painting (a little larger than the cradle)
spray varnish (I use Krylon UV archival matte varnish)
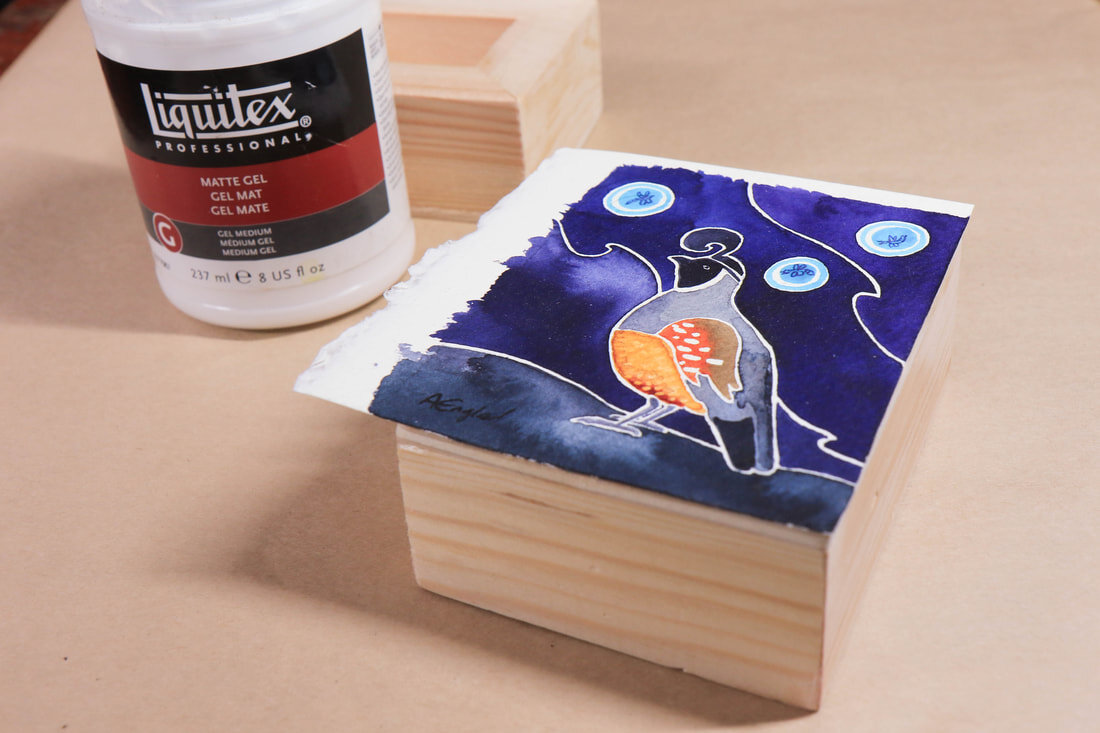
gel medium (I use Liquitex Professional Matte Gel)
brayer (a roller- you can also use the back of a tablespoon)
craft knife
cutting mat
cold wax for extra protection (such as Jacquard Dorlan's cold wax or Gamblin cold wax)
soft cloths for wax application and buffing

To protect the watercolour from light and dust, I seal it with four or five layers of Krylon UV archival matte varnish. The UV element is important as this will stop the painting from fading if exposed to light. Golden also make an excellent archival varnish, but it is more expensive and requires a longer drying time before recoating. A UV archival semi-gloss or gloss varnish is another option. It will intensify the colours of the painting and give a sheen slightly reminiscent of the wet paint.
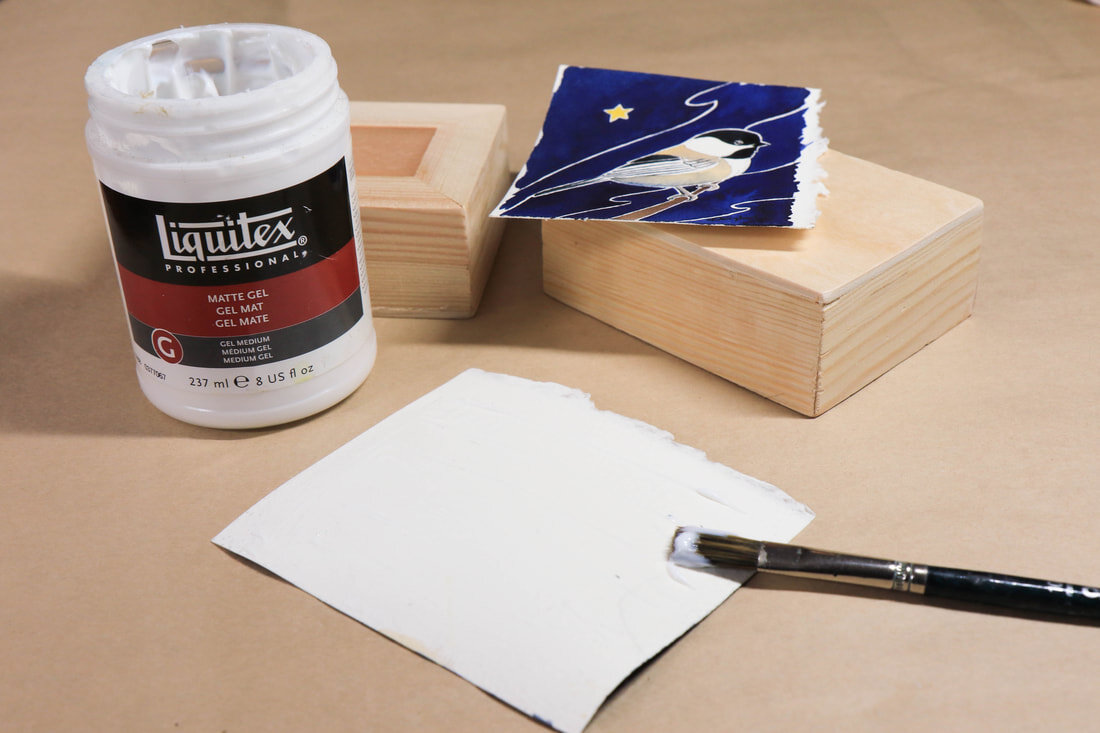
To stick the watercolour paper onto the cradle, I use an acrylic gel medium such as Liquitex Professional Matte Gel. This acts as a strong adhesive when dry. It's preferable to regular glues as it is acid-free so will not yellow your paper over time. It also acts as a barrier that prevents acids from the wood from discolouring your painting.
Then place your painting on to the wood. Use a brayer to press it down (the back of a tablespoon works too). Press the paper down evenly and check that the edges and corners are sticking properly.
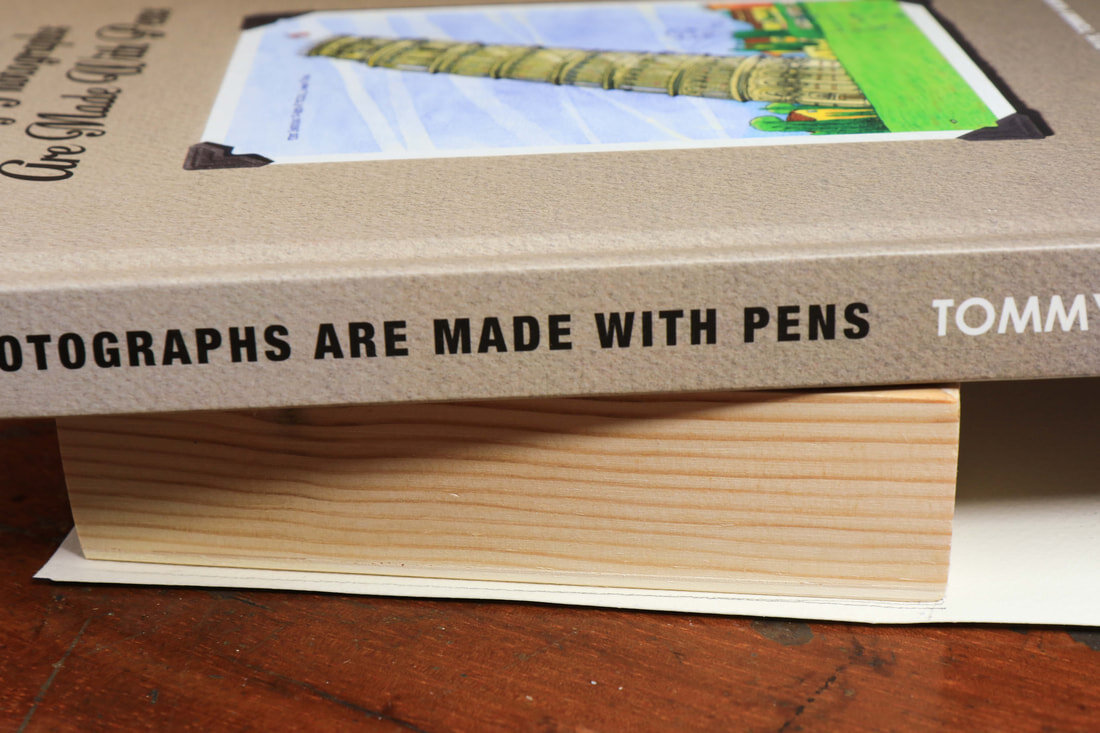
Turn the painting face down onto a clean surface. Place a few large heavy books on top to press it down (try not to get distracted by reading the books, even if they're by Tommy Kane). Leave overnight to dry.

With a sharp craft knife, trim the painting along the edge of the cradle. I find if I keep the cut parallel to how I'm sitting, I get more control and the paper does not snag. If I try pulling the knife towards me, I'm more likely to end up with snags and wobbles. Cut flush to the wood so you don't end up with paper overlapping.

Sand the cradle and the edges of the paper to give an even finish. A 1500 grit paper or similar smooths everything off beautifully. I have also tried coarser grits to tame unruly edges and remove traces of gel from the cradle, then following up with the extra fine paper to get the smooth finish.
Attach D-rings and picture wire to the back of your cradle if you want to hang the finished piece. For extra protection, you can apply a layer of cold wax, such as Jacquard Dorland's cold wax. Use a soft cloth to put wax onto the painting and spread in circular motions, then buff with a clean cloth to achieve a smooth clear finish. The wax creates a layer which can be removed and replaced by art restorers without damaging the artwork. The varnish becomes a barrier layer, allowing this process to happen. You can also apply wax to the edges of the wooden cradle.
Cold wax can take up to a week to dry and set properly. Allow ample time if sealing art for a gift or a show!
If you’re aiming for a low odour/ low toxicity studio, you can also skip the varnishing stage and just seal the art with cold wax, using the process above. This provides a layer of protection, but will not have the lightfast properties of the spray varnish.
